
National Craft Month Painted Purse
Let’s get crafty! Wayfair.com challenged me to give my very first blog craft a makeover for National Craft Month. You can see the first painted purses posts here and here on my Cre8tiva Blog. I am creating a #CraftDoOver and updated tutorial below of this very French painted purse…
My First Blog Craft
Back in 2007, I began experimenting with painting fabric. After 20+ years as a decorative painter and hundreds of murals and faux finishes in my portfolio, I was ready to use these skills in new ways. One day, I was rolling up my canvas dropcloths when I noticed a paint smear in the shape of a heart. I had signed and dated it back in May of 1994.
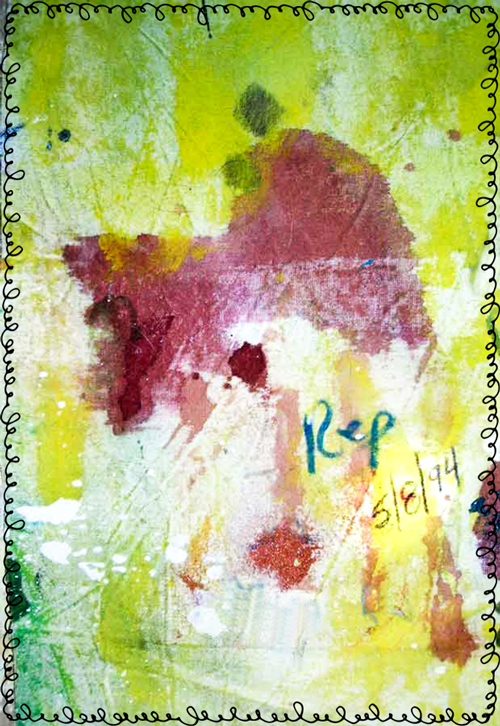
When I saw it, I thought I would frame it as a keepsake because the dropcloth was beginning to tear. After I cut it out, I realized that the paint on the rest of the dropcloth was pretty cool. So I decided to make a little purse with it. I made four that day and shared them on my blog. My readers loved them and I thought I was onto something.
My First Painted Purse Tote

my first commissioned painted purse with the owner’s face
So I painted more canvas with some of my faces that were so popular on my blog at the time. I sewed it into clutches and tote bags. They were a hit. People wanted me to teach them how and others wanted to buy them. My Doodle Bags were born.
In October of 2009, I launched The Dixie Doodler Bags. This was my first batch for sale and my ad. My photography skills were pretty bad back then!

By June of 2010, I published my first Painted Purses eBook and the name had changed to Doodle Bags™! I traveled all over the US teaching artisans how to create their own. It was a fun time.

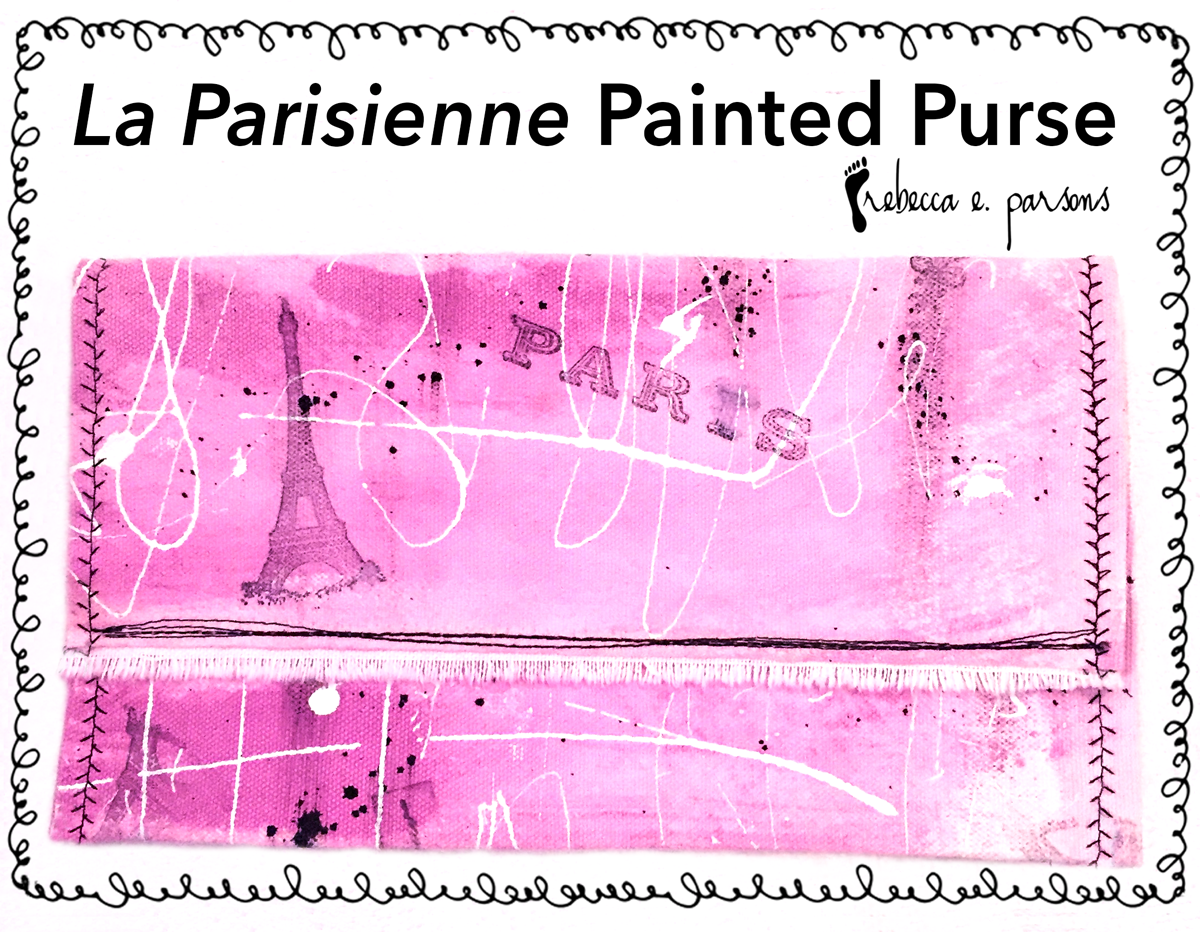
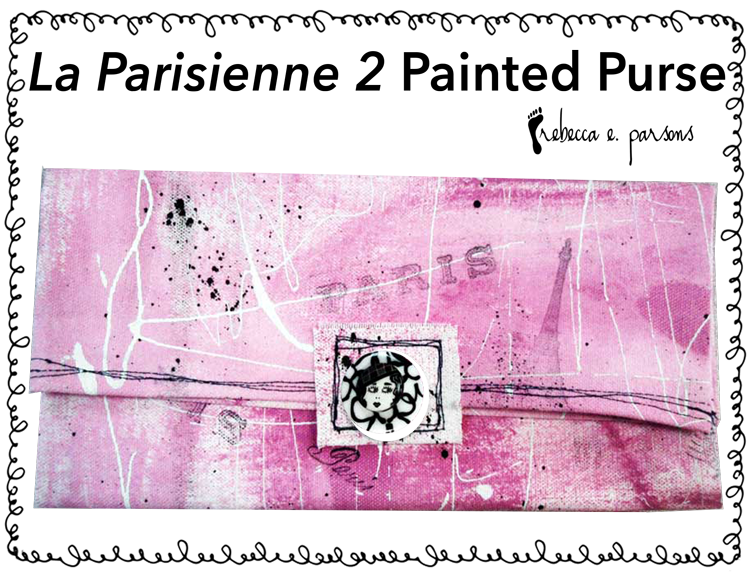
La Parisienne Painted Purses Tutorial

Materials
Canvas Duck cloth or other heave woven material
Acrylic paints
Artist brushes
Rubber Stamps, Stencils
Rubber stamp ink (permanent)
Paint Pens and markers
Thread in contrasting color
Lining material (optional)
Directions
Iron material if necessary. Lay flat on a protected surface. Painting cloth is messy and it bleeds through. You can click images for closer view.
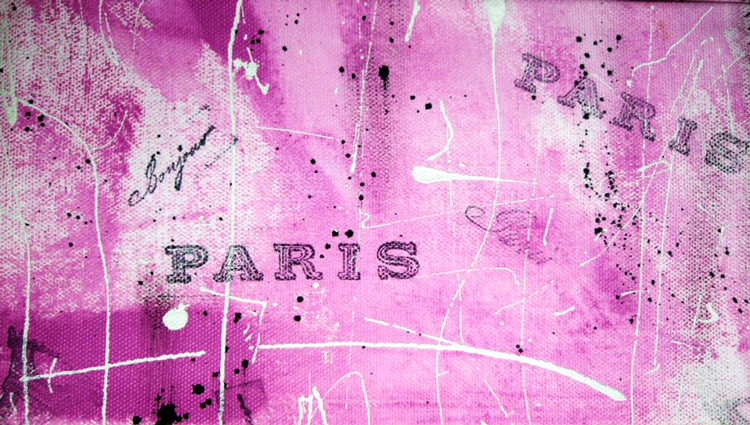
- Decide on a color scheme and just let the paint flow. I used fuchsia pink, black and white. Brush the pink on in wide, sweeping strokes. I wanted the white of the fabric to show through. In some areas the paint is more concentrated.
- Dilute black paint with a little water and spatter on fabric.

- Load a large portion of white paint on a brush and drizzle across the fabric. Let paint dry and iron on reverse side to set into fabric.

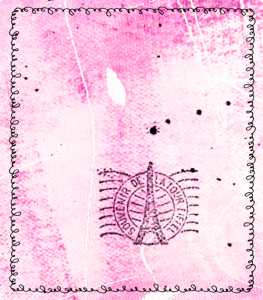
- Embellish with rubber stamps and paint pens.


- Sew into a clutch purse. I do this without a pattern. I cut a large rectangle about 30″ long and 10″ wide. I then fold in half, painted sides together and sew the sides.I top stitch the top edges with contrasting thread in random manner. Then I turn it painted side out, clip the bottom corners, and iron edges with pressing cloth.

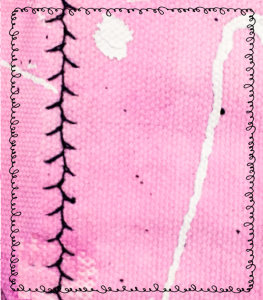
- Here is a close up of the top edge random stitching.

- Fold into a clutch and sew the side together with a decorative embroidery stitch.
- Another version of the purse with a French button closure.


For more ideas and inspiration, visit Arts and Crafts and Baskets, Boxes, Buckets at Wayfair.com.


I love both versions, the older and the newer. I’m going to try this with my teen daughter. I know she’d have a blast making a painted purse with me.
These are so fun to make! And the simple sewing is a good way to introduce girls to sewing. Would love to see the finished purses.
How cute!! What beautiful pieces. Perfect for gifts, or keeping for yourself, right? 🙂